How to Seamlessly Track Calendly Events with Google Analytics 4 Using Google Tag Manager

Key Takeaways
- Tracking Calendly events in GA4 using GTM is possible even on the free Calendly plan by using a custom listener code and data layer setup.
- Key Calendly events to track include profile_page_viewed, event_type_viewed, date_and_time_selected, and event_scheduled.
- Steps involve adding a Custom HTML tag with the Calendly listener code, creating a Custom Event trigger, and setting up a Data Layer variable to capture event types.
- Create a GA4 tag using your Measurement ID, configure it to fire on the Calendly-Custom trigger, and structure event names as calendly_{{Calendly-datalayer}} to track specific events.
- Test your setup in GTM preview mode, confirm events fire correctly, and verify them in GA4 Debug View before submitting changes for live tracking.
Tracking Calendly events in Google Analytics 4 (GA4) using Google Tag Manager (GTM) is essential for gaining insights into user interactions with your scheduling tool.
Calendly includes built-in Google Analytics 4 tracking, but this feature isn't accessible for free users.
However, there's a workaround to track Calendly events.
This guide will show you how to track it using Google Tag Manager (GTM) with a free Calendly plan.
1. Prerequisites
Before you begin, ensure you have the following:
1.1 Google Tag Manager Access:
Ensure you have access to your website's Google Tag Manager account. If you don't have one, set it up before proceeding.
1.2 Calendly Account:
Have an active Calendly account with events set up for users to schedule.
1.3 Google Analytics 4 Property:
Create a Google Analytics 4(GA4) property for your website in Google Analytics. If you don’t have a GA4 for your website, follow the instructions on the Google Analytics platform.
Let's dive into the steps to track Calendly events in Google Analytics 4(GA4) using Google Tag Manager(GTM)
2. Calendly Event Types
Before we get into the details of how to track Calendly events, let's first acknowledge the variety of events we can monitor using Google Tag Manager (GTM).
Understanding these events is crucial for crafting a strong tracking strategy and gaining insights into user interactions.
Let’s see what are those events and how they can help.
2.1. Profile Page Viewed:
Event Name: `profile_page_viewed`
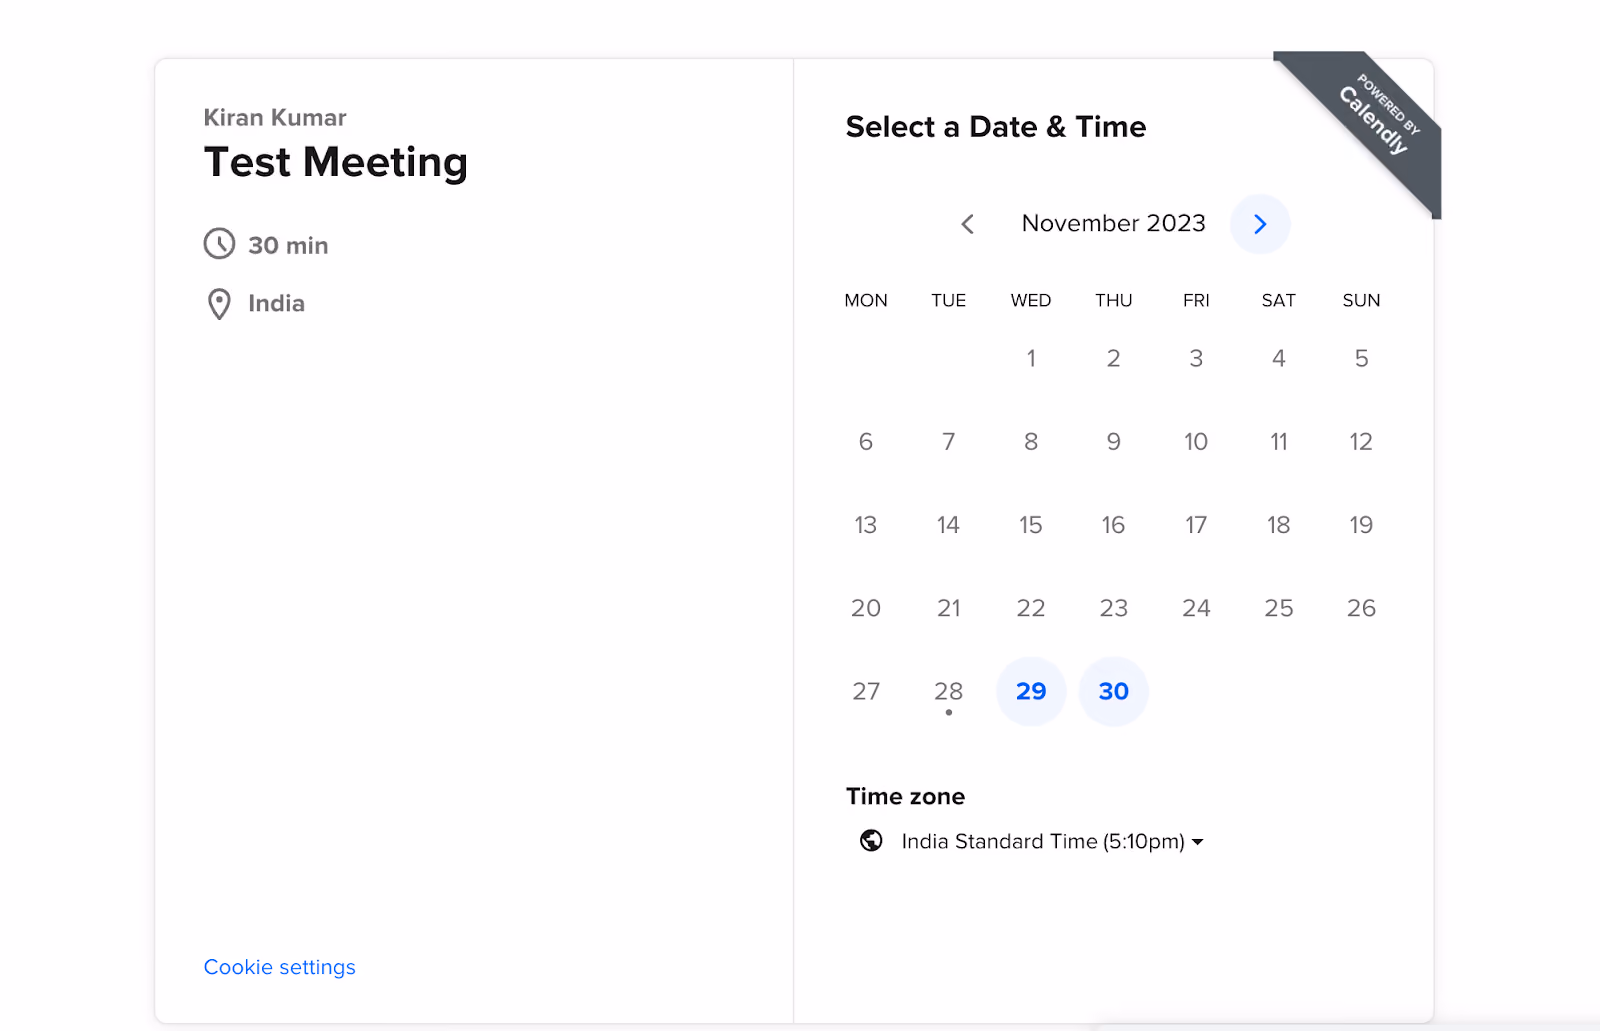
Description: When someone views the event-type page( When someone opens the embedded calendly page or when it loads for the first time).
2.2. Event Type Viewed:
Event Name: `event_type_viewed`
Description: When someone views the event type page or clicks on an event type.
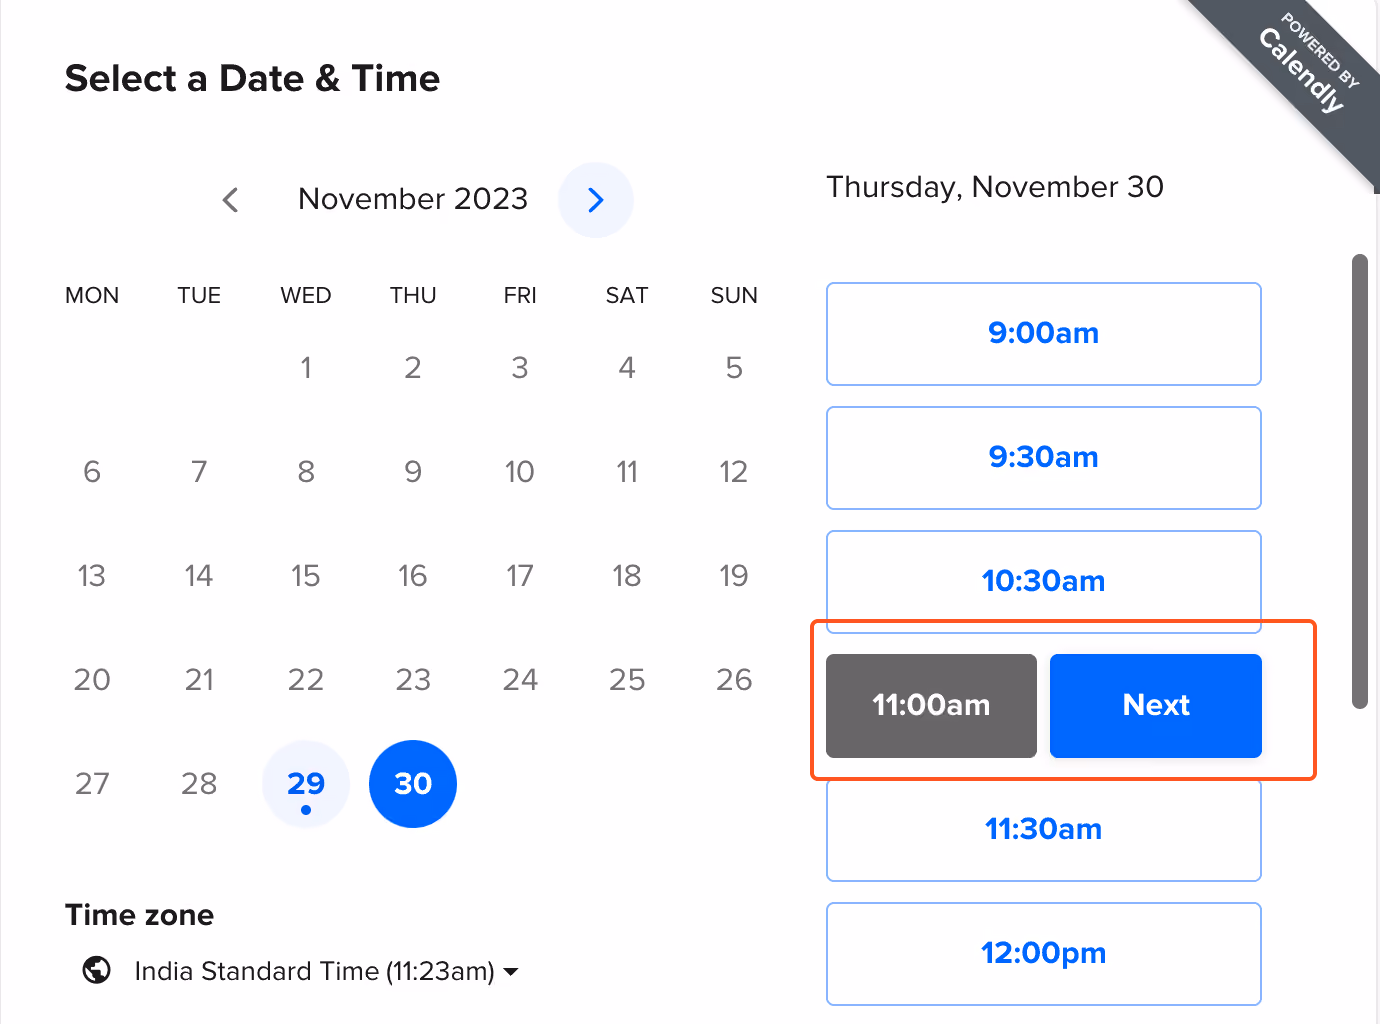
2.3. Date and Time Selected:
Event Name: `date_and_time_selected`
Description: When the invitee selected the date and time.
2.4. Event Scheduled:
Event Name: `event_scheduled`
Description: When the invitee successfully booked a meeting.

3. Steps to Track Calendly Events in GTM
- Calendly Listener Code.
- Create a custom event.
- Create a data layer variable.
- Create a Google Tag and get a Measurement ID.
- Create Google Analytics 4 Tag.
- Testing.
3.1. Calendly Listener Code - Custom HTML:
- Go to the "Tags" section
- Click "New" to initiate tag configuration.
- Opt for "Custom HTML" in the tag configuration.
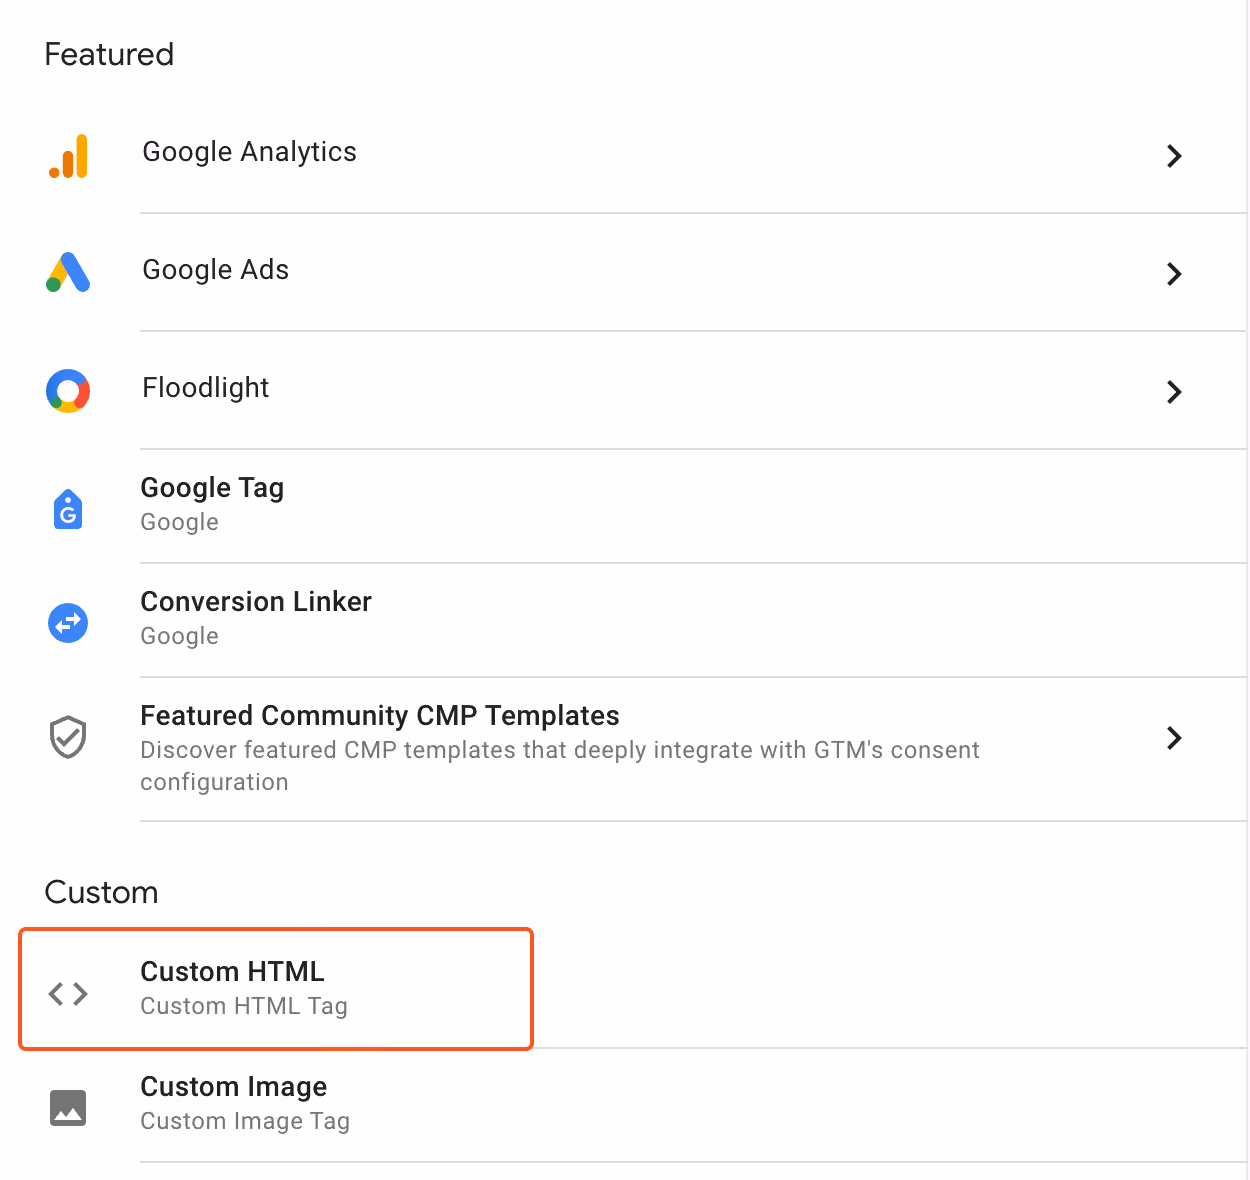
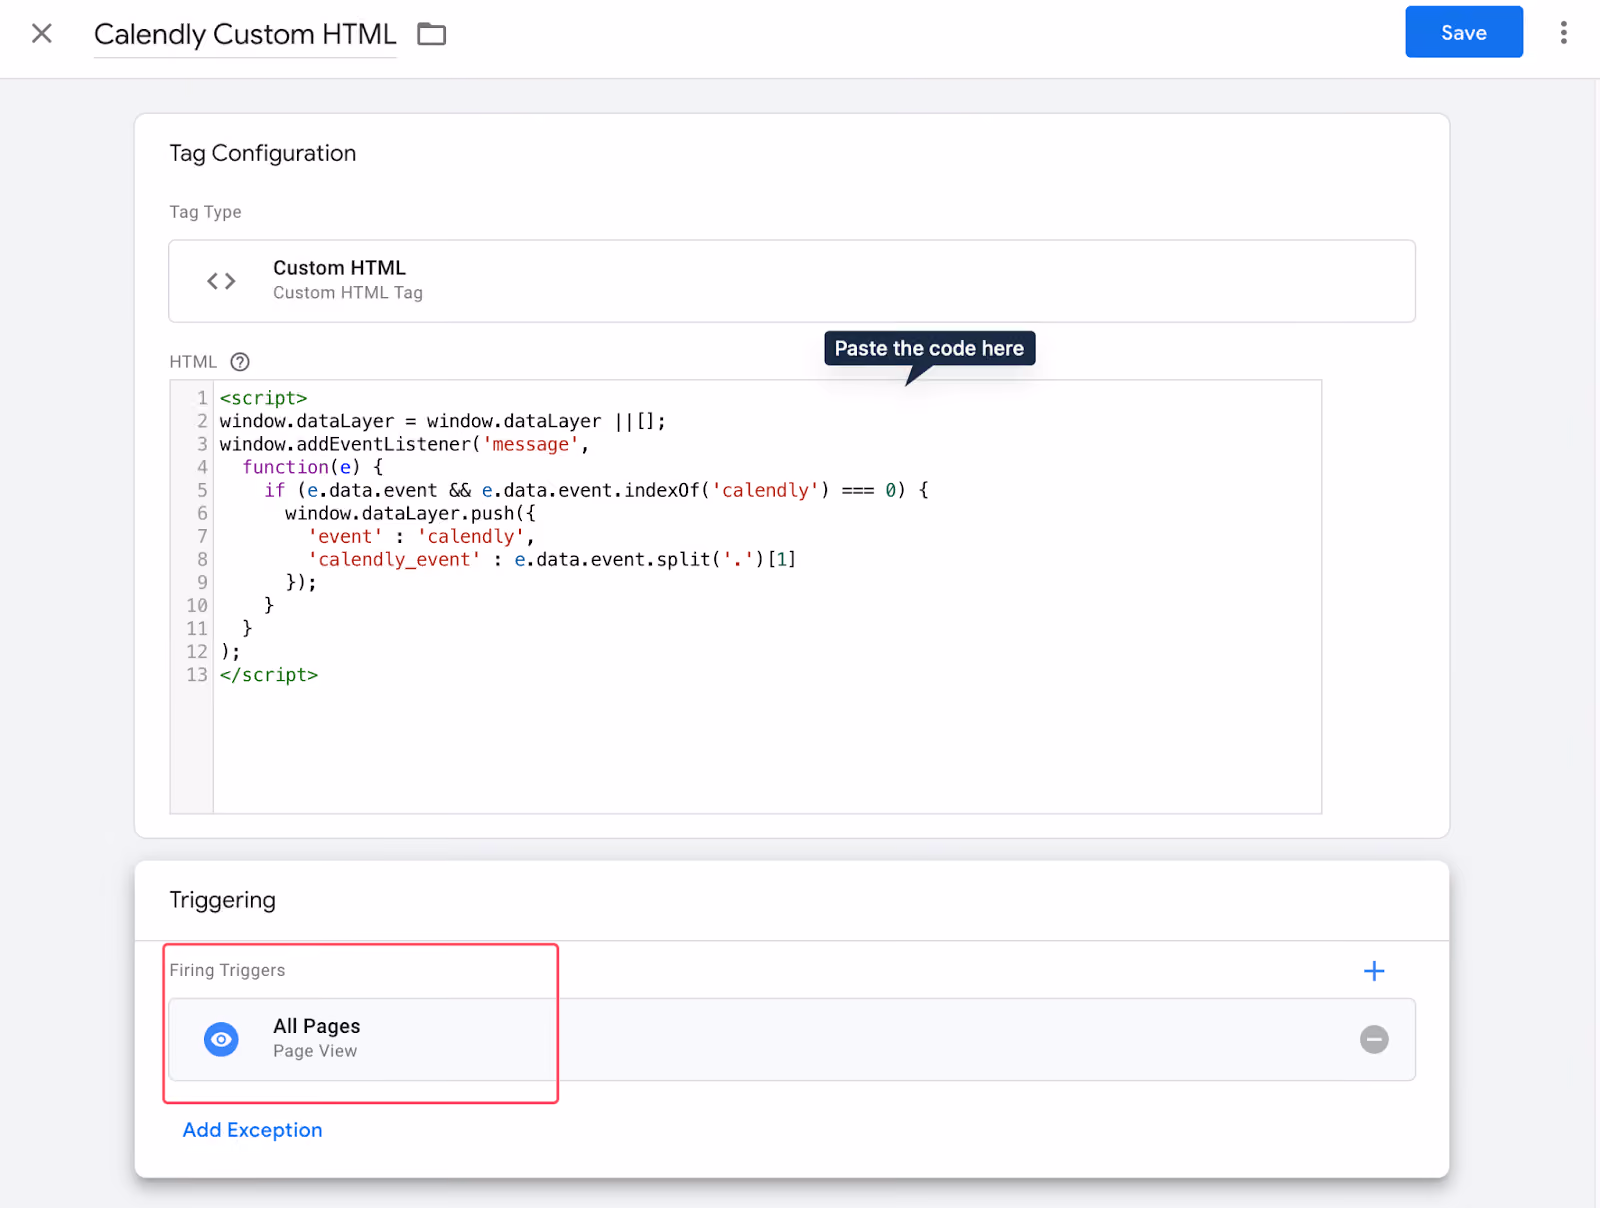
- Proceed to paste the provided code into the designated HTML field.
<script>
window.dataLayer = window.dataLayer ||[];
window.addEventListener('message',
function(e) {
if (e.data.event && e.data.event.indexOf('calendly') === 0) {
window.dataLayer.push({
'event': 'calendly',
'calendly_event': e.data.event.split('.')[1]
});
}
}
);
</script>
This code listens for messages related to Calendly events on a website.
When it detects such a message, it stores information about the specific Calendly event in the data layer.
You can use this information to track, analyze, or integrate with other tools.
In calendly, the above code tracks one of the four events -
- profile_page_viewed – When someone viewed the profile page.
- event_type_viewed – When someone viewed the event type page.
- date_and_time_selected – When the invitee selects the date and time
- event_scheduled – When the invitee successfully schedules a meeting.
For triggering, select "On All Pages" to ensure the tag functions universally across your site.
Assign a name to the tag, such as "Calendly Custom HTML," and save the tag.
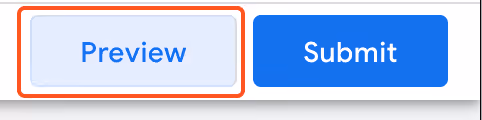
Click the preview button to confirm whether it is working.
Then, enter your website URL in the field and click Connect.
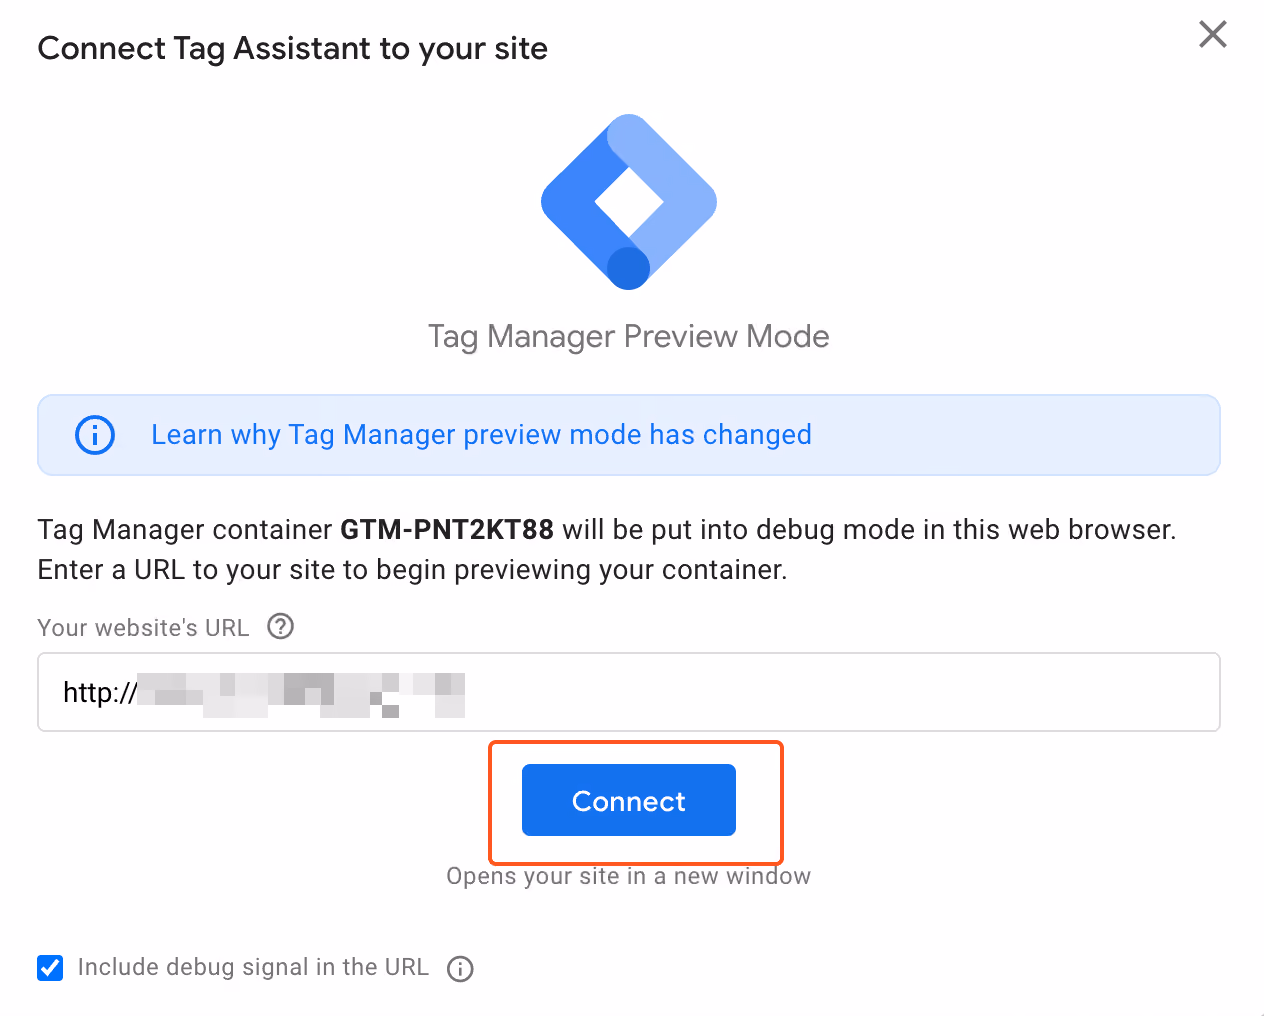
Upon connection to the website, a preview and debug window will open. It is the tag assistant and will open in a separate window.
Now, go back to the calendar and schedule a meeting.
Head to GTM preview mode, and you can see something similar. Expand the API Call to see the full details.

Here, event_scheduled is a calendly event pushed by the listener.
If you don't see the events in the preview mode, it means there's a connection problem. To fix this, just close and reopen it.
By following the steps, the code will work smoothly on every page.
3.2. Create a Custom Event
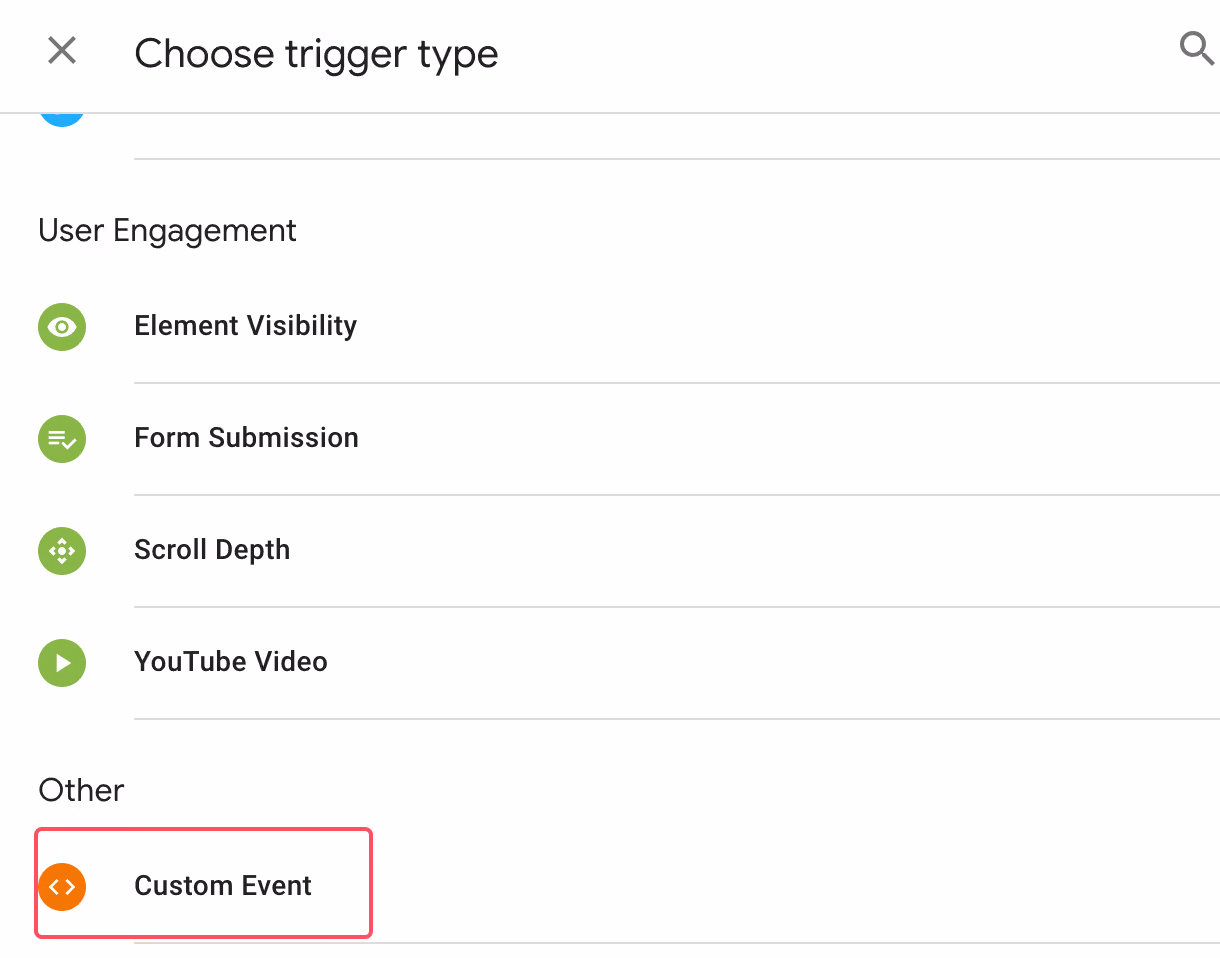
Go to "Triggers," then select "New." Choose "Custom Event" as the trigger type in the trigger configuration.
Set the Event Name as "calendly" and the Trigger Name as "Calendly-Custom." Click on "Save" to finalize the trigger configuration.

3.3. Create a Data Layer Variable
A dataLayer variable in Google Tag Manager helps pass and organize data between your website and GTM, making it easy to track events, define custom variables, and customize your tracking setup.
Let’s see how to create a Data Layer Variable -
Go to the "Variables" section. Within user-defined variables, create a new variable.
Click anywhere in the variable configuration, then choose the data layer variable option.
Name the data layer variable as "calendly_event" and save it with "Calendly-datalayer."

In the provided code, "calendly_event" is the parameter sent to the data layer.
3.4. Create a Google Tag and Get The Measurement ID
If you already have the Google Tag and Measurement ID, skip to step 7.
3.4.1 Obtain Measurement ID:
Log in to your Google Analytics account using the associated Google account.
Choose the relevant Google Analytics account and property for your website.
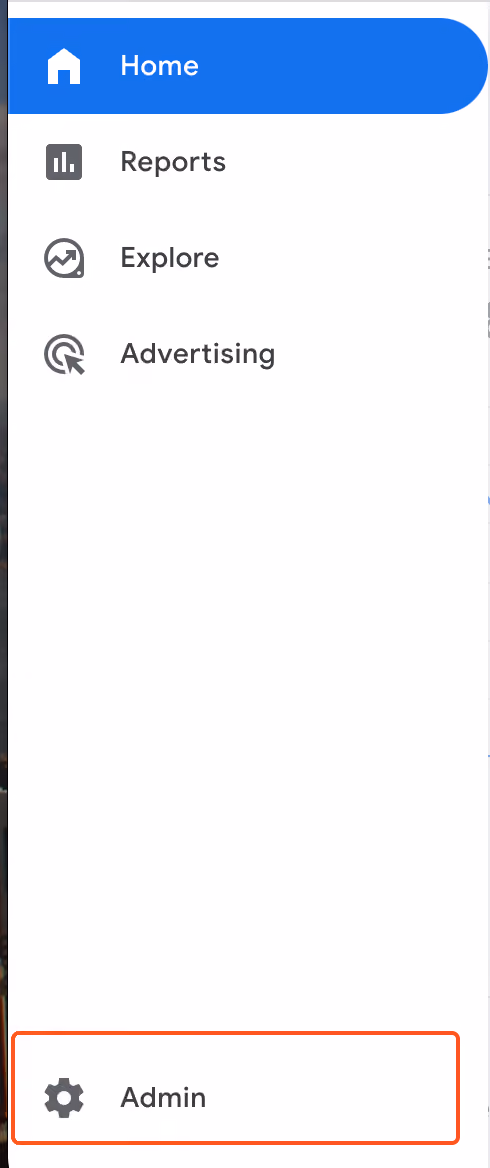
Access the Admin tab in the lower-left corner to enter the Administration page.
Under the data collection and modification section, select "Data Streams."
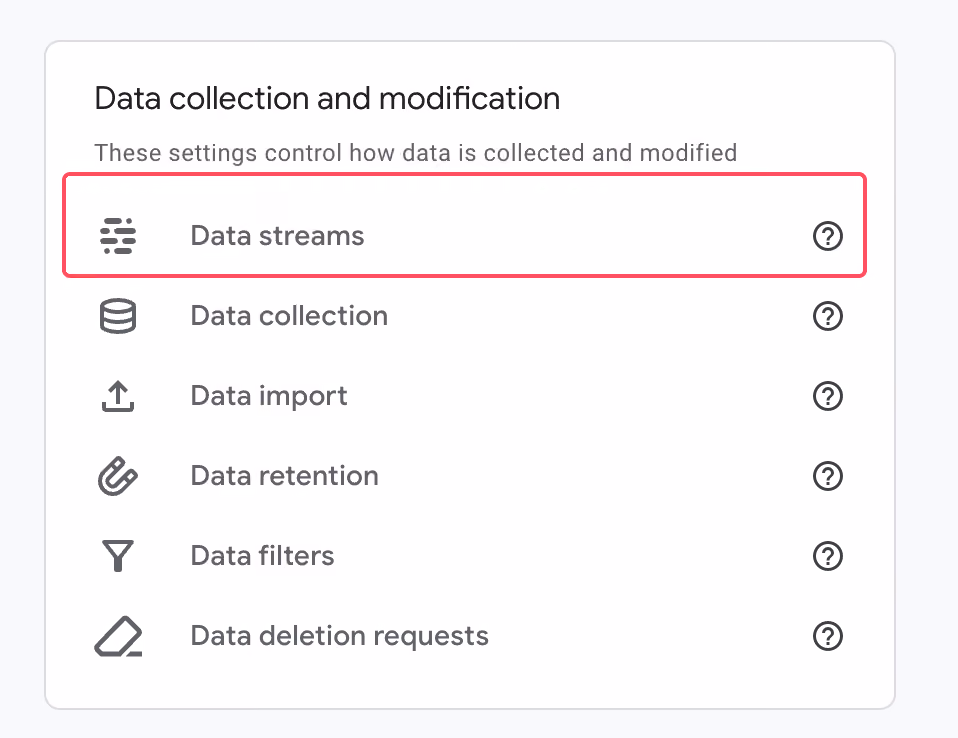
Click on the data stream associated with your website.
Find the Measurement ID in the Data Stream settings, typically displayed as a series of numbers preceded by "G."

- Copy the Measurement ID to your clipboard for configuring the GA4 tag.
3.4.2. Create a Google Tag:
The Google Tag serves to store the Measurement ID within the container.
The Google Tag identifies the presence of the Measurement ID when it is used anywhere in the container. In this case, to create a GA4 tag.
Once you create the Google Tag, you can use it multiple times.
Let’s create a Google Tag -
Navigate to the "Tags" section and click "New" to create a new tag.
Choose "Google Tag" as the tag type in the configuration options.
- Paste your Measurement ID in the "Tag ID" field to link it to the Google Analytics 4 property.
- Configure the triggering section to activate the tag on all pages.
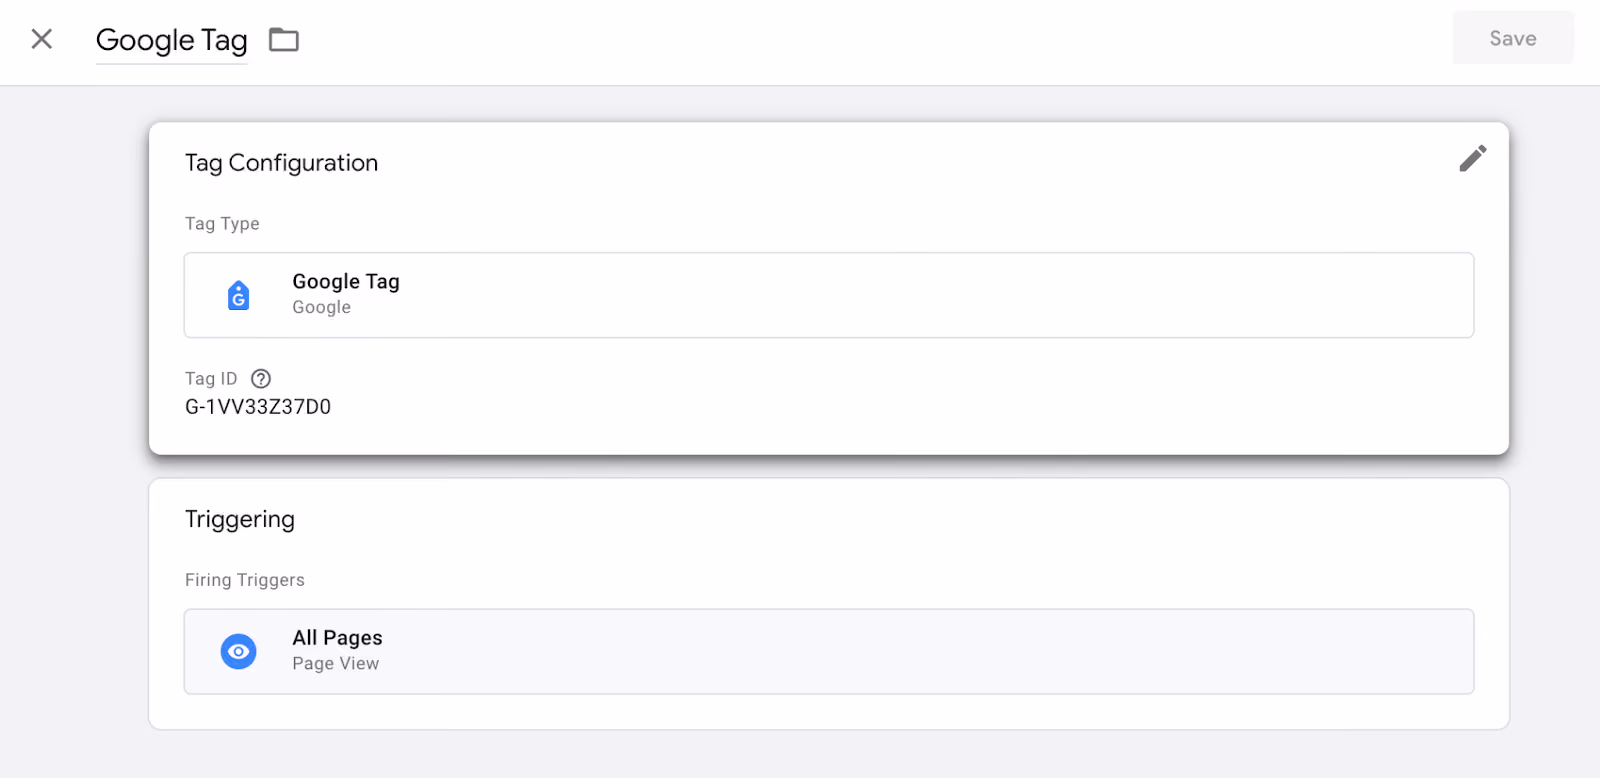
Click "Save Tag" to preserve your configuration and give the tag a meaningful name.
3.5. Create a Google Analytics 4 Tag:
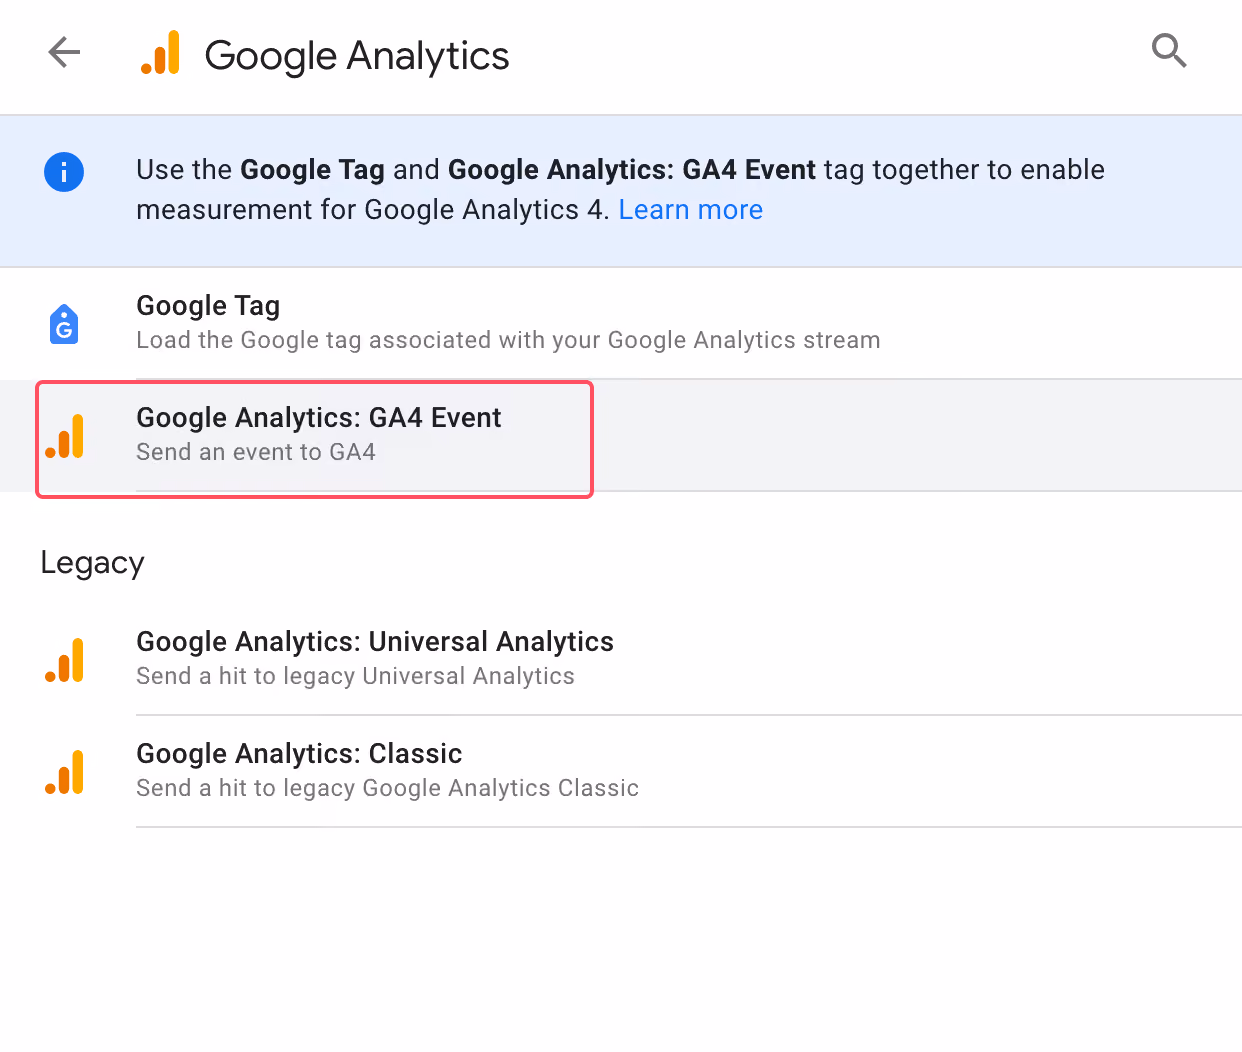
To create the GA4 tag, go to "Tags," click "New,"
Select Google Analytics in the tag configuration and choose "Google Analytics: GA4 Event."
Paste the Measurement ID and confirm it is available in the container.
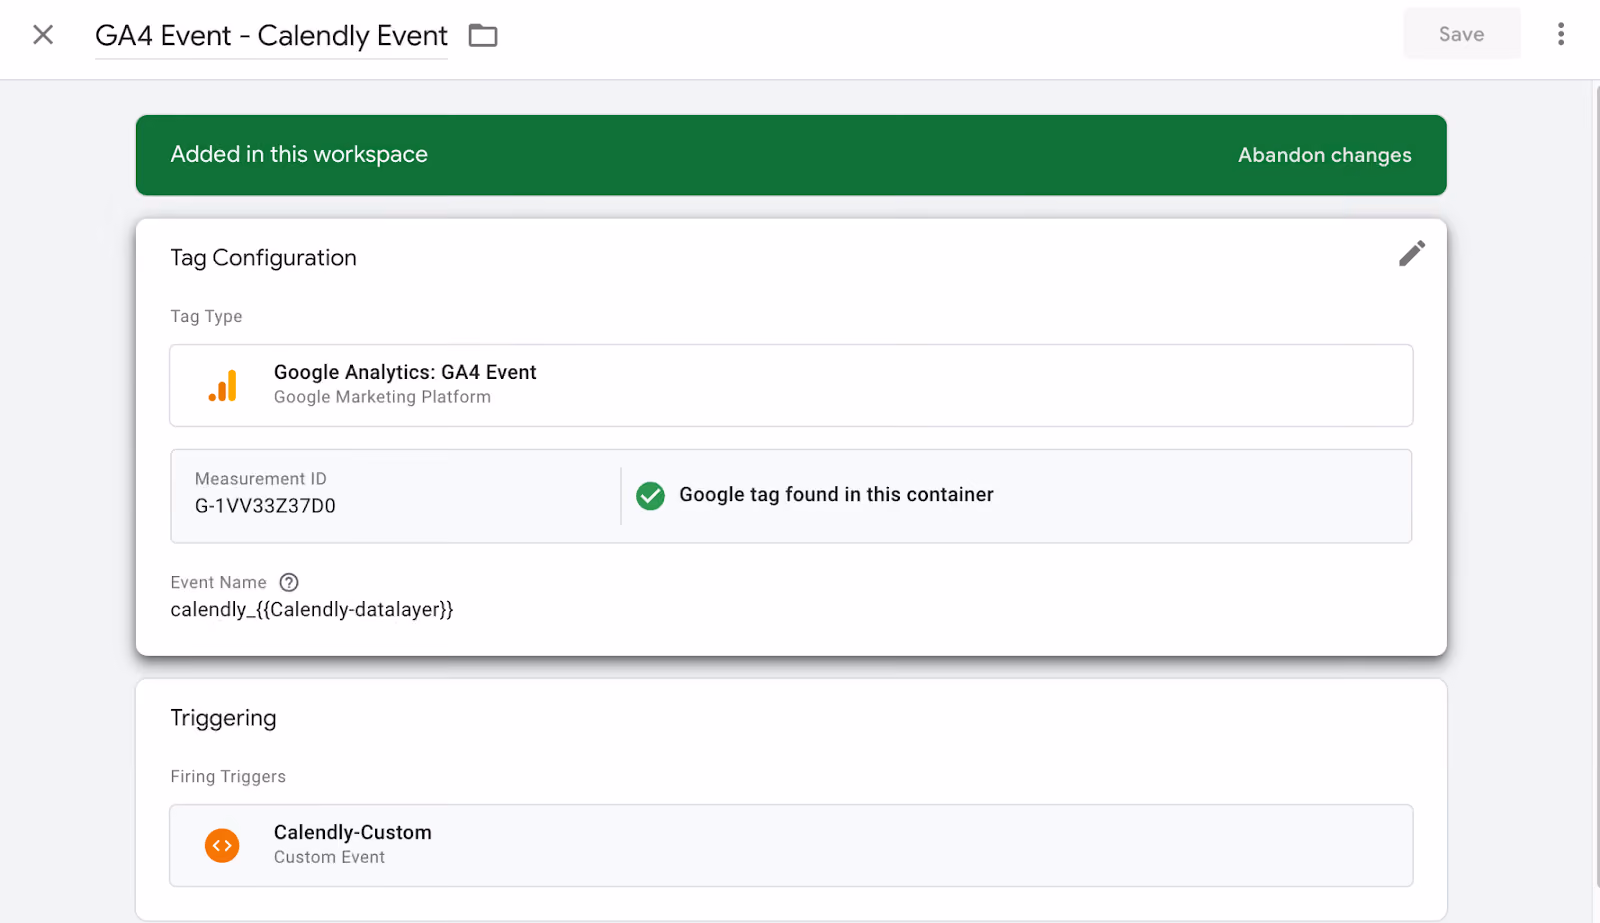
Use "calendly_{{Calendly-datalayer}}" as the event name based on the data layer variable created in step 5.
We have two components in the event name: firstly, "Calendly," which we named, and secondly, "{{Calendly-datalayer}}" as the data layer variable – these represent the event types.
This structure aids in recognizing the specific Calendly event occurring on your website.
For instance, the event name could be "calendly_date_and_time_selected" or "calendly_profile_page_viewed." Other possible events include "calendly_event_type_viewed" and "calendly_event_scheduled."
These event names help identify which event occurred on your website.
In the triggering section, select the previously created Calendly-Custom trigger. We created this trigger in step 4.
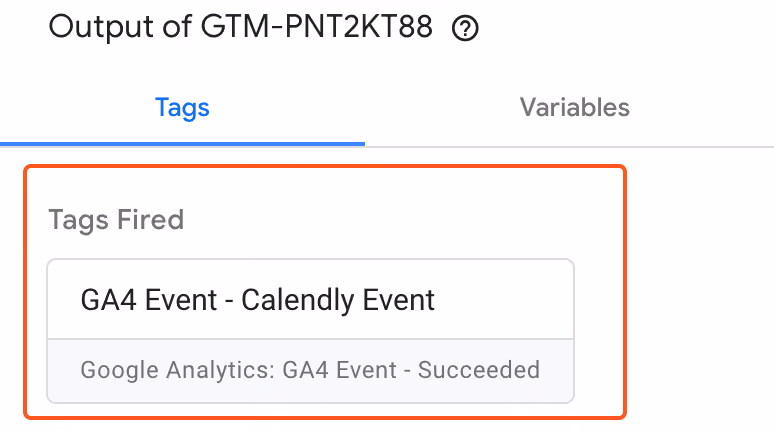
Save the GA4 tag as “GA4 Event - Calendly Event".
Submit the changes by clicking the "Submit" button in the top right corner and providing the necessary details for submission.
By following these steps, you'll smoothly incorporate your Measurement ID into a tag, ensuring effective tracking of the "GA4 Event - Calendly Event" event on your website.
3.6. Testing:
After creating a GA4 tag, the changes are not visible in the preview mode.
To see the changes you made to the new GA4 tag- Close the preview mode and open it again by clicking the preview button in the top right corner.
A separate page with Calendly will open and schedule an event.
Go back to the Tag Assistant window. Click "Calendly," and you'll see "GA4 Event - Calendly Event" fired.
Now the GA4 event is configured and firing, it’s time to see the Calendly events.
To see them, go to Google Analytics > Admin > Data display and choose Debug View.

In the Debug View, you can see the events.

Once you are okay with everything, hit submit to save all the changes and provide the necessary details for the submission.
Final Words
This guide outlines the steps to track Calendly events in Google Analytics 4 (GA4) using Google Tag Manager (GTM) for users on the free Calendly plan.
The process involves creating event types, implementing a Calendly listener code in GTM, and configuring custom triggers and variables.
Additionally, it explains how to create a GA4 tag to store the Measurement ID and track Calendly events effectively.
It emphasizes the importance of testing the setup using the preview mode and provides insights into checking events in Google Analytics Debug View.
For businesses looking to connect Calendly tracking with broader performance dashboards, partnering with a Marketing Analytics Agency can help turn these event insights into measurable growth outcomes.

summarize with ai


